First made popular in the ’60s, cut crease eye makeup is the one thing that ties all of these women together. With the power to create depth and add definition to your eyes, this beauty trick is one to add to your staple of skills.
Thankfully, whether you live and breathe makeup or are still learning to use mascara without poking out an eye, with a few simple tips, you can create this look.
Here’s how to master the perfect cut crease.
What is a Cut Crease?
Recall for a moment the last time you applied eyeshadow. Most likely, you would have dusted your favourite shade onto the lids of your eyes, extending the shadow just up to the point where the eyelid skin dips into a crease. The cut crease makeup technique defines that line, extending it slightly above the natural fold with a few clever tricks. As such, it shows off and widens your eyes by creating the illusion of added depth. Whether your eyes are small, large, slanted or hooded, a cut crease will open them up for a beautiful, doe-eyed look. Additionally, the extra space created on the lids will offer a more extensive canvas to show off your favourite eyeshadows.
Glitter Cut Crease
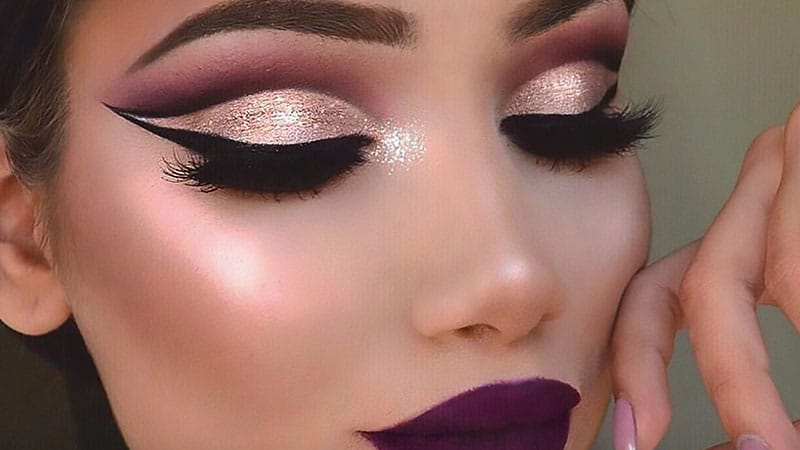 Adding a little glitter to your eyeshadow while experimenting with a cut crease will ensure a stunning, evening look that will make your eyes pop. The trick when it comes to glitter is to apply it to the eyelids themselves. Doing so means keeping the eyeshadow above the crease glitter-free and well blended. For a seriously beautiful look, match the glitter colour to that of the shadow above your crease. Just make sure to use a slightly darker version of the shade for the cut crease eyeshadow, as this will create depth and let the sparkles stand out. However, if you want to get experimental, you can also use a neutral shade of glitter, and a darker shade of shadow above to create a beautiful two-toned look. While metallic glittery lids are an instant winner on anyone, the shimmer will be particularly dazzling when paired with hazel eyes.
Gold Cut Crease
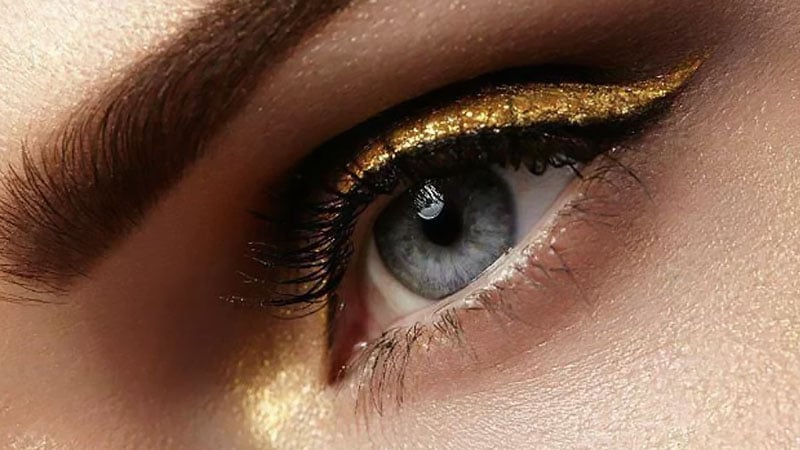 Go bold this season with a sweep of gold on your eyes. With the power to bring out any golden flecks in your eyes, this shade will make you sparkle. Able to be dressed up or down, a gold cut crease is the perfect formal look for a black tie evening as well as a fun, playful style to wear out to lunch with the girls. If you are going for glamour, try combining this look with well contoured, bronzed cheeks and barely-there natural lip gloss. From there, a sleek slicked back hairstyle or voluminous, soft waves will amp up your luxurious look. If keeping things casual, keep your face makeup dewy and minimal with natural shades while letting your hair flow freely.
Gold Glitter Cut Crease
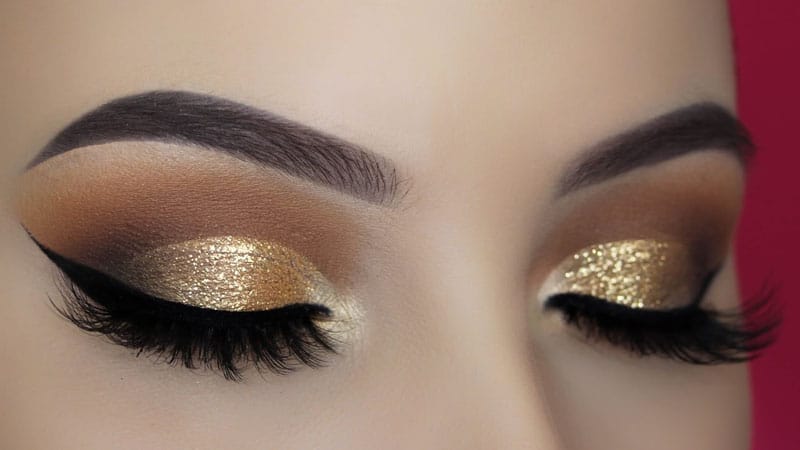 Take the gold cut crease look one step further with a dusting of gorgeous glitter. The metallic sheen of the sparkles will emphasise any gold or green flecks in hazel eyes while the gold undertone will complement all eye colours. Keep your winged eyeliner sharp with an elongated flick to truly enhance the glamour.
Purple Cut Crease
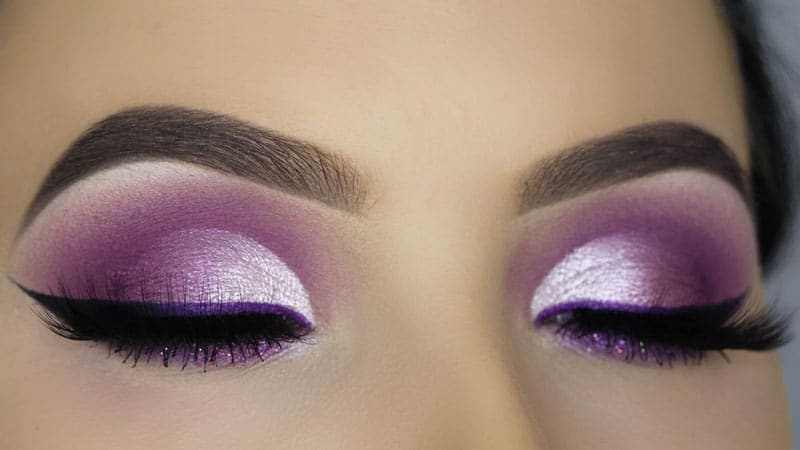 Across the world, purple is renowned as the colour of magic and allure. As a result, a purple cut crease will add an intriguing element to your makeup. This look is especially captivating on women with olive or darker skin tones. Naturally highlighting any glimmers of green in the eyes, this colour is perfect for those with greeny-blue, green or hazel eyes. Additionally, the dreamy shade will create a mystical effect on icy blue or grey eyes.
Red Cut Crease
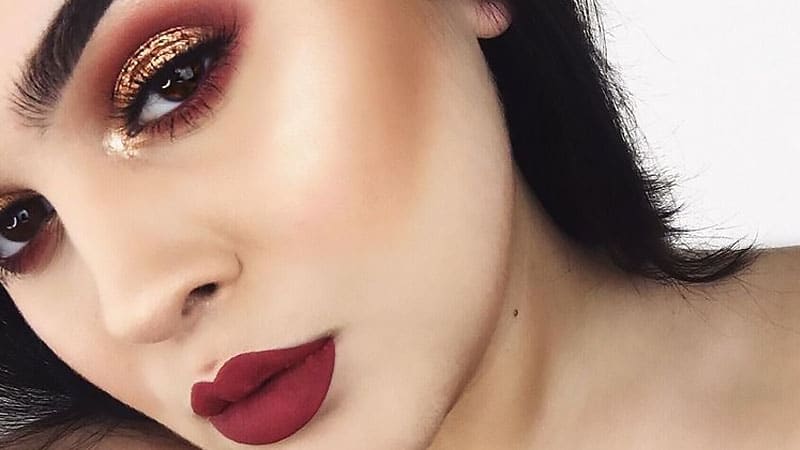 Looking for a sultry, bold and ultimately high fashion makeup look? Turn heads with a striking red cut crease. If you have dark blue, hazel, or green eyes, a sweep of red above your eyelids will make them smoulder. To avoid any makeup mishaps, however, save the cherry and fire engine shades for your lips and opt for a dark or copper red shadows.
Silver Cut Crease
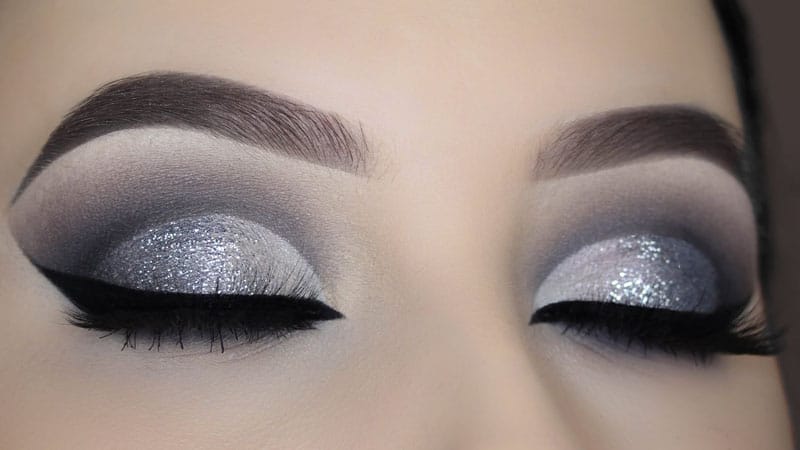 An ultra-modern and sophisticated silver cut crease will transform your entire appearance by drawing all attention to your eyes. Highlight beautiful brown eyes with this opposing shade or emphasise the piercing allure of light blue or grey eyes. Due to the shimmering, standout nature of this colour, opt for a half cut crease to keep your look refined.
Black Cut Crease
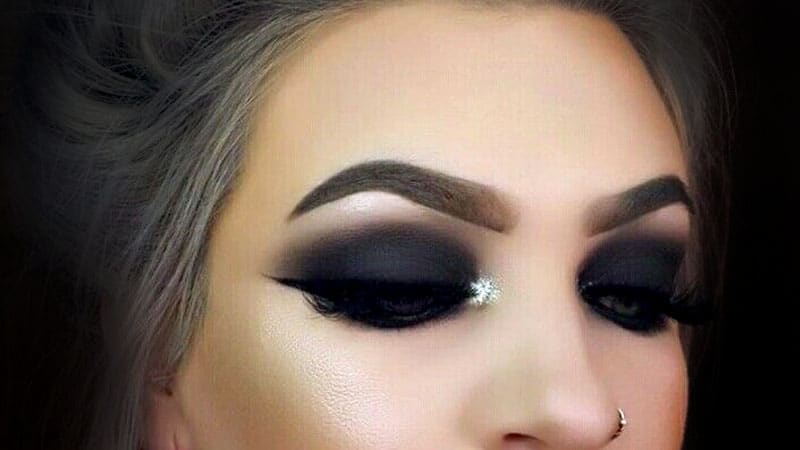 For a glamorous, bold makeup look that oozes confidence, a black cut crease makes an excellent option. To enhance the intensity, add a shimmer of silver or white shadow on your inner eye. Also, make sure your winged liner extends beyond the black eyeshadow, so that your eyes are beautifully elongated, and blend the shadow above your crease so that it is slightly lighter on the outer corners. Finally, pair with your favourite red lipstick for a knockout finish.
Pink Glitter Cut Crease
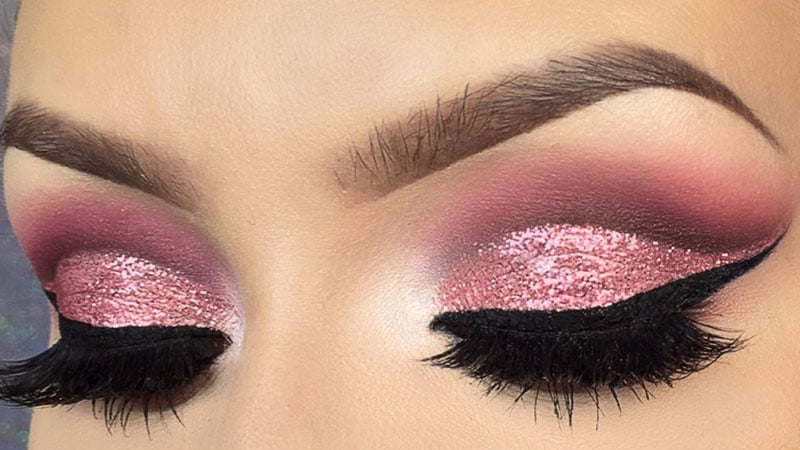 For all the pink ladies out there, a pink glitter cut crease is a fun and flirty way to play up your eyes on a night out. This shimmering style will make your eyes sparkle, but the key is to choose the best shade of pink for your eye colour. If you have rare grey eyes, light shades such as salmon pink and coral are for you. Additionally, coral will look incredible on blue-eyed beauties. Alternatively, if you have hazel or green eyes, a dusty, metallic pink will really make you stand out.
Burgundy Cut Crease
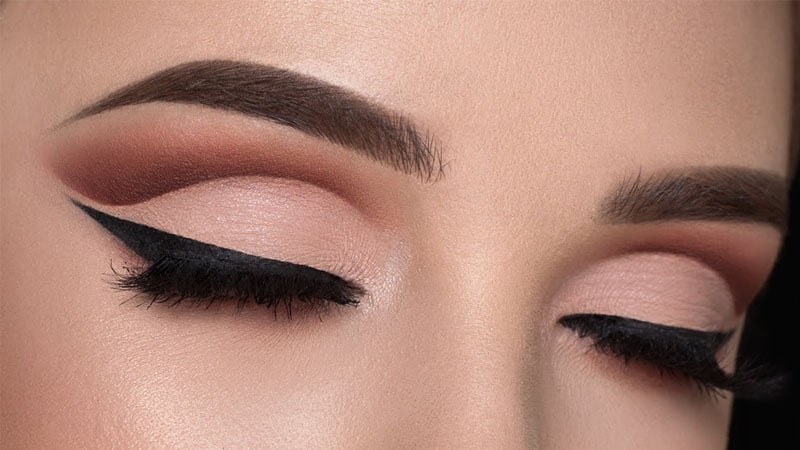 Highly versatile, a burgundy cut crease look can work for both day and night. Whether you’re off to to the office, a daytime wedding or a night out on the town, this alluring look will ensure you appear sophisticated. For a fantastic look, use a neutral, nude shade on your eyelids to emphasise the burgundy cut crease above. Finally, complete the look with a matching burgundy lipstick. This colour looks incredible on women with any colour eyes. However, it is particularly complementary for dark blue or green eyes.
How to Do a Cut Crease
To create a cut crease, you’ll need to apply eyeshadow just above the natural crease of your eyes, and ‘cut’ this new line with concealer or foundation to ensure it appears sharp and polished. Additionally, it is also essential to select an eyeshadow to be applied above the crease that is darker or contrasting to your chosen lid colour.
Natural Cut Crease
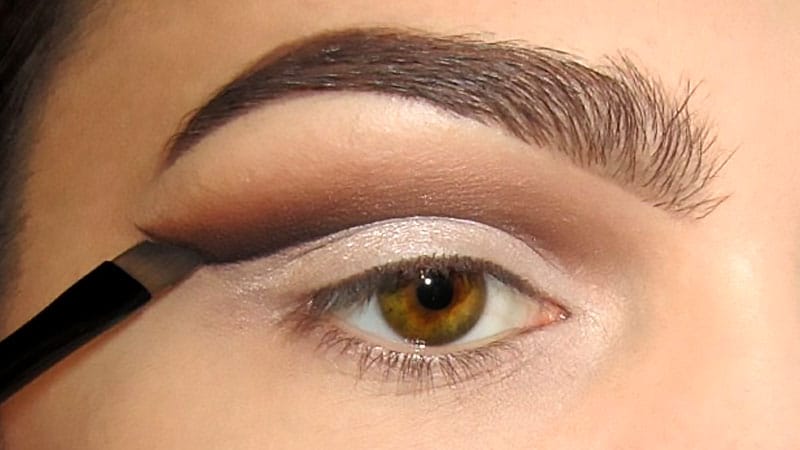 If you’re looking for a simple, stunning way to define your eyes, but still want that effortless, “I woke up like this” appearance, a natural cut crease is for you. This style will make your eyes stand out by creating definition and highlighting your features. With a little practice, the steps to achieve this look are simple.
Steps
- Apply primer to the eye area.
- Use a warm neutral shadow to define your crease.
- Apply concealer or foundation to cut the crease.
- Set the concealer with a neutral powder before applying nude eyeshadow to your lids.
- Line the upper eyelid with brown eyeliner and add a coat of mascara.
Easy Cut Crease
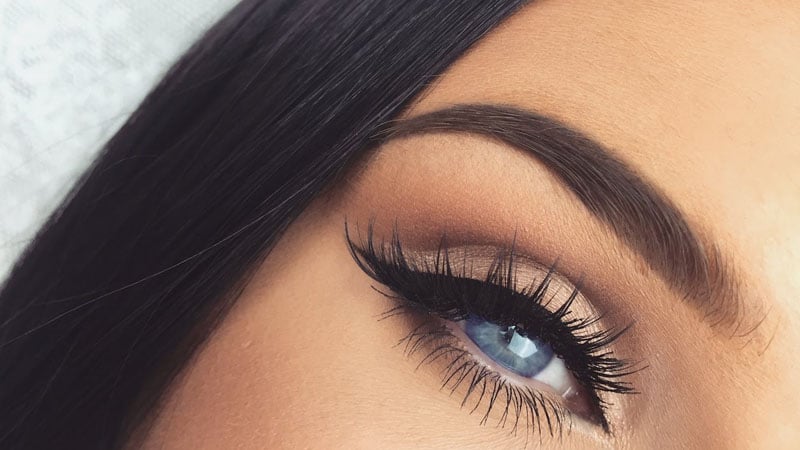 While a cut crease can be the perfect makeup trend to experiment with colours and sparkle, it can also be toned back for a subtle, beautiful look. If you want an easy way to highlight your eyes, aim for a natural cut crease. Then, add a little extra glamour with winged eyeliner.
Steps
- Prime the eyes from the lids to the brow bones and apply a warm, neutral eyeshadow above the crease line.
- Cut the crease with foundation or concealer and use a translucent powder to set.
- Apply a natural eyeshadow colour that complements your skin tone to the lids.
- Use a black liquid liner to create a sultry winged eye.
- Curl your lashes and apply your favourite black mascara on the upper and lower lashes.
Half Cut Crease
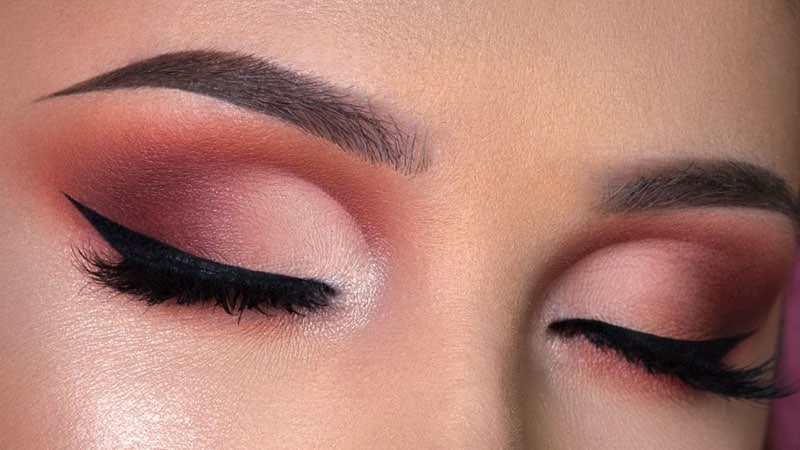 Mastered the easy cut crease and ready to take your makeup skills to the next level? A half cut crease is the beauty weapon to add to your artillery. If you want to experiment with bold colours or shimmering metallics, the half cut crease is the technique to try. Instead of keeping the colours above and below the cut crease separate and defined, this style blends the eyeshadow above down onto the lid, starting at the outer corners and extending towards the middle.
Steps
- Prime the eye area and use a small brush to apply eyeshadow above the natural crease line of your eyes.
- Cut the crease with concealer or foundation. Set with translucent powder.
- Apply your chosen eyeshadow. We suggest a colour that is a lighter shade of the eyeshadow above your crease.
- Take the first eyeshadow colour (used above the crease) and apply to the outer corners of your lid. Blend.
- Apply winged liquid eyeliner to emphasise the look.
Double Cut Crease
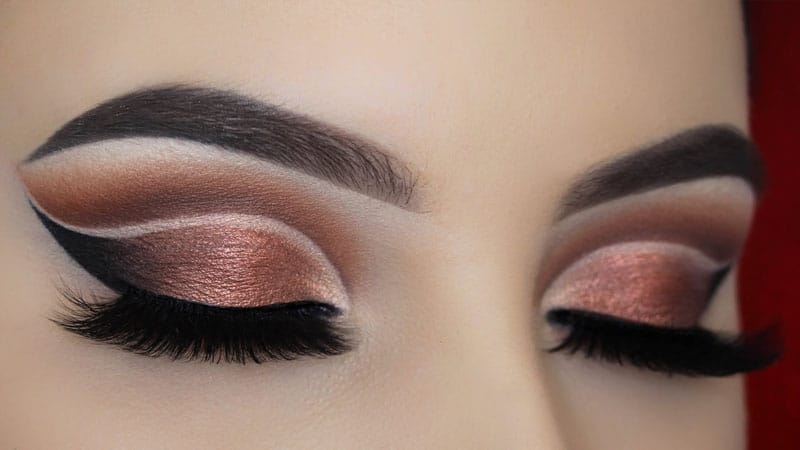 For a look straight off the runway, we recommend the double cut crease. While this look is usually not for beginners, with a few simple steps and a little practice, you’ll have it mastered in no time. Although it is called the ‘double’ cut crease, this style requires three distinct sections. This includes the eyelids, the cut crease area, and the skin above this space. Instead of the eyeshadow above the cut crease and the shadow on the lids meeting at the crease line, there is a gap created in between the two. The result, therefore, is an incredibly fashionable and intriguing look.
Steps
- Apply primer. Use a small angled brush to apply eyeshadow slightly above your usual cut crease line. Blend.
- Cut the crease with foundation or concealer. Set with translucent powder.
- Apply your chosen shade to your eyelids, leaving a small gap between it and your other shadow.
- Use a small brush and concealer to redefine the crease. Apply shimmering powder on top. Tidy eyeshadow if needed.
- Apply liquid eyeliner, creating a wing that follows the line of the cut crease.
Cut Crease for Hooded Eyes
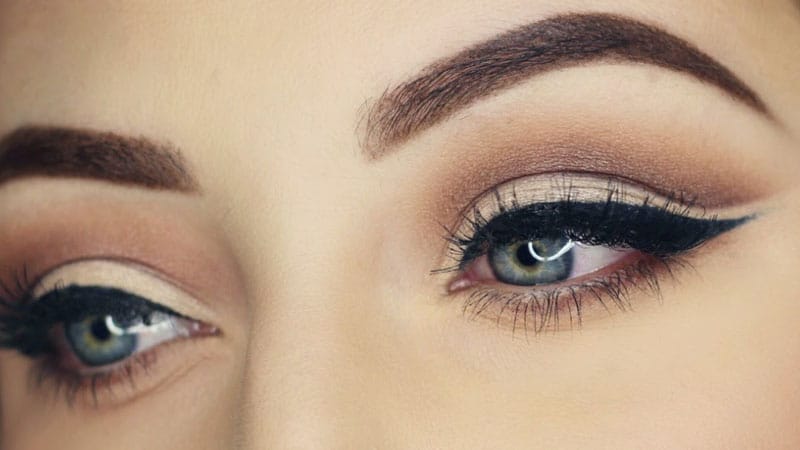 If you have naturally hooded eyes, then a cut crease is the perfect makeup trend to try. Not only will this look make your eyes appear larger than normal, but it’ll also create a canvas for you to experiment with eyeshadow while adding definition and depth.
Steps
- Prep with primer.
- Find the centre point between your upper lash line and brows. Sweep eyeshadow across this point, following the natural curve of your eyes. Blend upwards and outwards.
- Apply concealer or foundation to cut the crease. Set with translucent powder.
- Apply a different eyeshadow to your eyelids, such as one in a matching colour but a lighter shade.
- Elongate your eyes with black liquid eyeliner by creating a winged look.

